
Acrylic vs. Oil Paint: A Beginner's Comparison for Creative Projects
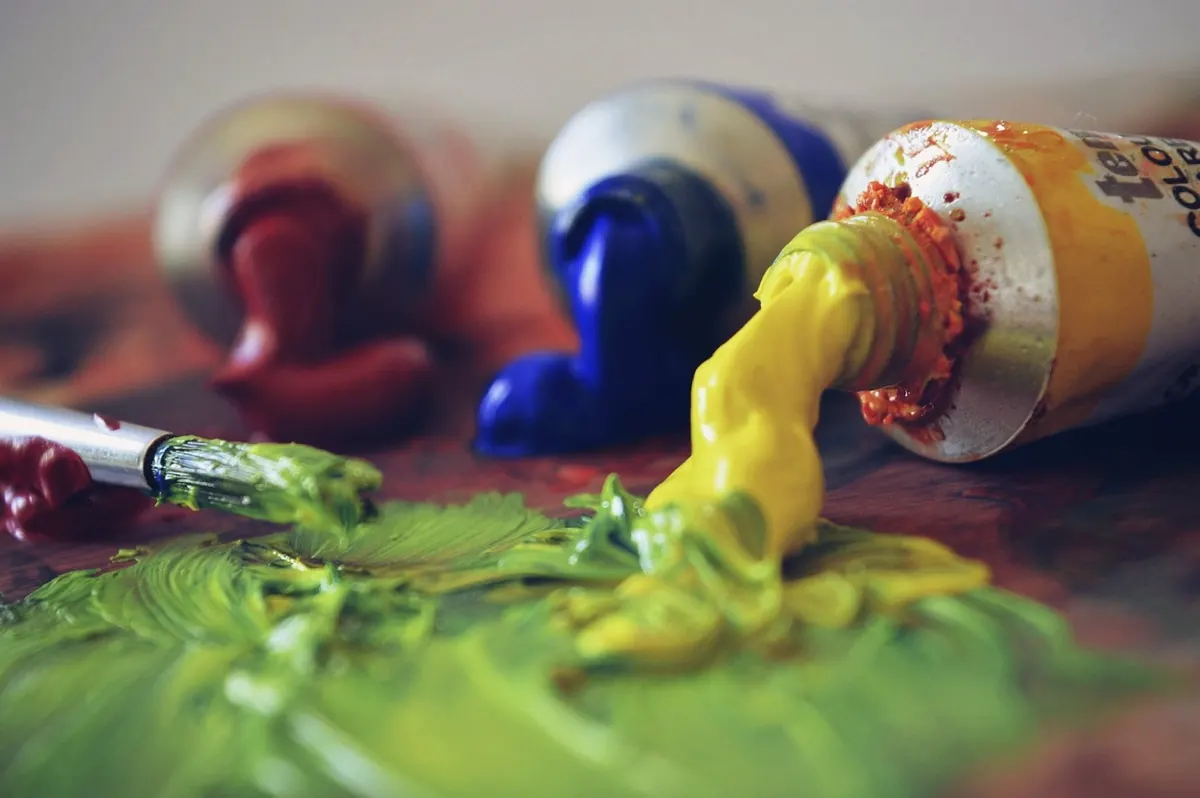
Two tubes. Same red. One thins with water and is dry before you finish your coffee. The other stays wet long enough that you can change your mind tomorrow. That is the acrylic-versus-oil question in miniature, and it is worth answering before you spend money on supplies you will fight with. Both paints are capable of serious, lasting work. The choice comes down to how you like to paint, how much time you have, and what kind of space you are painting in.
Drying Time Sets the Pace of Your Painting
Acrylics dry fast. A thin layer can be touch-dry in minutes, and even a heavier stroke firms up quickly. That speed is either a gift or a trap, depending on your habits. If you like to block in shapes, correct them, and move on, acrylics let you finish a study in one sitting and paint over yesterday's work without waiting. If you like to hover over a single passage for an hour, acrylics will lock the paint down before you are ready for it to set.
Oils stay open. Depending on how thickly you apply them and whether you add a medium, a passage can remain workable for a day or several days. That long window is why oil painters can blend a cheek, a cloud, or a shadow into soft, gradual transitions that are genuinely difficult to pull off with fast-drying acrylics.
Small adjustments make either paint easier to live with. With acrylics, a stay-wet palette and a spray bottle of water keep mixed colors usable through a session, and working in smaller sections prevents the hard edge that appears when you return to half-dry paint. With oils, applying thinner layers and letting each one set before adding the next keeps the surface stable and avoids a slow-drying, muddy mess.
Blending and Edges: Where the Two Paints Diverge
Wet-into-wet
Oils are patient. You can place two colors side by side and soften the seam an hour later, or come back the next morning and keep working. This is the technique behind glowing skin tones, hazy skies, and the kind of atmospheric depth that looks effortless and is not. Acrylics can do a version of it, but you have to move quickly or add a retarder to slow the drying.
Layering and glazing
Acrylics shine in layers. Because each layer dries fast, you can build up opaque blocks of color, then brush thin translucent glazes over the top to shift temperature and depth. A warm glaze over a cool underpainting can make a plain shape feel lit from within. Oils glaze beautifully too, but you may wait days between steps.
Texture and finish
Oil paint is buttery and holds a brush mark almost exactly where you put it. Acrylics feel more slippery coming off the brush and dry slightly darker than they look when wet, which catches nearly every beginner off guard. A matte or gloss medium fixes the finish and can thicken the paint for textured work.
Cleanup, Solvents, and a Space You Can Actually Use
Acrylics clean up with soap and warm water while wet. Once dry, acrylic is essentially plastic, and a brush with hardened paint down in the ferrule is usually a lost brush. Rinse as you go, and at minimum do not let brushes stand in a jar overnight. Wipe excess paint onto a rag or paper rather than rinsing pigment down the drain, then dispose of the dried waste with household trash and check your local guidance.
Oils need more of a routine: a lidded jar, rags, and a method for washing bristles without wrecking them. Solvent fumes are the part beginners underestimate. Work near an open window, keep lids on jars, and consider low-odor or water-miscible oils if you paint in a small room. If you have asthma or allergies, or you share your space with children or pets, ask a doctor or an experienced instructor what setup is safe for you before committing to a solvent-based practice.
Cost and the Starter Kit That Won't Waste Money
Both paints come in student and artist grades, and that gap matters more than the gap between the two mediums. Student-grade paint carries more filler and less pigment, so colors are weaker and mixing gets frustrating fast. A small set of artist-grade paint in a limited palette will teach you more than a big box of cheap tubes.
- Acrylics: a few artist-grade tubes (white, a warm and a cool red, a yellow, a blue, plus a brown), canvas paper or small panels, two or three synthetic brushes, a spray bottle, a flat palette, and one medium.
- Oils: a limited artist-grade palette, canvas or panel, brushes you accept may get ruined, a palette, a lidded jar, rags, and optionally a medium to speed drying.
- Either way: spend more on surface area and less on colors. Painting often on cheap panels teaches faster than painting rarely on expensive linen.
Where Each Paint Wins
- Fast color studies, sketchbook work, and exercises: acrylics.
- Small apartments, classrooms, shared studios, and travel kits: acrylics.
- Wood, cardboard, fabric, and craft surfaces: acrylics, which grip porous grounds well.
- Slow portrait or still-life work with soft transitions: oils.
- Large, atmospheric pieces built up over several days: oils.
- Thick impasto with buttery strokes: oils, though acrylics can build texture with mediums if you avoid applying them extremely thick in one pass.
One rule worth remembering if you keep both: oil paint can go over a fully dry acrylic layer, but acrylic over oil is unreliable and can peel. Pick one for a given painting and commit.
Choosing for Your Next Project
Choose acrylics if you want to work quickly, clean up with water, paint in a small room, or experiment without much setup. Choose oils if you want long open time, richer blending, and do not mind a slower process with solvents and drying time between layers.
If you are still unsure, do this: buy one small canvas and one small set of each, then paint the same simple subject twice — once in acrylic, once in oil. Notice which paint let you make the decisions you wanted to make. That is your answer, and it will probably hold for years.
Photo: 667918 / Pixabay